Tuesday, March 13, 2012

Wild Yeast Starter

Today I baked my first wild yeast sourdough bread.  It was as tasty and beautiful as any artisan bread I've purchased for $9, but it came from my own kitchen from nothing more than flour, water and salt.  I was initially very overwhelmed by all of the different, often conflicting, starter techniques I was reading about in blogs and professional bread books, but it turns out that they're all right as long as you choose one and stick with it.  I also confirmed that wild yeast (read: mad dough) is the most adaptable, forgiving living thing within these four walls.

In honor of this fine city of San Francisco and the incredible brunch I enjoyed last Saturday, I chose to follow the Tartine method for country bread.  I highly recommend the Tartine Bread book to anyone who has considered baking their own bread.  I followed this recipe loosely from start to finish, with some major detours based on my schedule and slight carelessness, and it still transformed into my favorite bread ever. 

The answer is in the wild yeast starter, and the secret is leaving it alone.

In a large container mix 50% whole wheat and 50% white flour.  This is what you will feed your starter.

Mix 3 tablespoons of 50/50 flour mixture and 3 tablespoons of room temperature water in a clear dish or measuring cup so that the container is less than half full. 

Cover with a towel (not a secure lid or the wild yeast won't be able to get in) and let rest at room temperature for 3 days.

Small bubbles should have started to form.  If not, leave it for another.  Dump out half of the mixture and replace with 2 tablespoons flour and 2 tablespoons water.  Mix well.

Cover with a towel and let rest at room temperature for 2 days. 

Activity should have increased slightly.  Dump out half of the mixture and replace with 2 tablespoons flour and 2 tablespoons water.  Mix well.

Begin a daily routine of covering with a towel and letting rest at room temperature for 1 day, then dump out half of the mixture and replace with 2 tablespoons flour and 2 tablespoons water.

Continue the routine around the same time daily for about one week until the starter develops a pattern of eating lots of flour, inflating with gas, deflating, eating the next day, inflating, deflating, and so on.
Once you catch and train your wild yeast starter you can begin making incredible breads with complex flavors, chewy crumb and extended shelf life!

Orange Campfire Brownies

The campfire baking didn't stop at multigrain bread.  We also experimented with fresh baked brownies made within the peel of an orange, baked by the fire.  They were a total disaster, but so much fun to make and eat, and a great alternative to traditional campfire treats.

Now that I've made every mistake possible, I'm pretty sure these instructions will be a huge success on our next camping trip.

1. Slice 1/2 inch off the top of the orange and scoop out most (or all) of the pulp by sliding a spoon along the inside of the orange, separating the meat from the pulp.  Be careful not to tare the orange peel which will cause leakage.


Don't throw away the top slice - this will go back on top for baking.

The orange meat was a nice campfire treat itself, but I squeezed some of it into the brownie mix for flavor and to replace a small portion of the wet ingredients.

2. Mix brownie or any kind of cake mix according to package directions, or from scratch! 


We used Trader Joe's No Pudge chocolate brownie mix, plain greek yogurt and a tiny splash of almond extract to add flavor since the yogurt was Plain.  Nuts might be a nice addition as well

3.  Scoop the mix into the orange, filling half way.  Don't forget that batter rises when baked and will create a sticky mess as it overflows the orange and tinfoil, so best to fill half way.  Top with the orange slice.


4.  Wrap in tinfoil and gently place next to hot coals of fire.  Bake for 20-40 minutes, turning every ten minutes to ensure even baking.  Try to keep upright until brownie has shown some sign of being cooked.


5. Unwrap and eat with a spoon, or squeeze the orange to push the brownie out through the top. 


Monday, March 12, 2012

Multigrain Campfire Bread

I spent the weekend camping with friends north of Napa, CA and was psyched when dinner time came around to see the picnic table loaded with wild salmon, fresh winter greens, hearty sausage and red curry.  No franks and beans at this camp out and more than a few excited faces when I unpacked my new dutch oven (flea market find) and hearty multigrain bread dough.  

This bread is no-knead, highly adaptable to whatever ingredients you have and the tastiest of any bread I've made.  It's also super easy and will make a bread baker out of anyone.  Baked in a dutch oven over campfire, this bread has a place in my heart forever.    


Hearty Multi-Grain Bread
2 cups wheat flour
1 cup multi-grain flour or any other whole grain flour you have
1/4 cup gluten flour (to compensate for the less gluteny whole wheat flours)
1/4 cup flax seed
1/4 cup 7 grain cereal (or ground bugler wheat or Kamut, or oats or cooked rice)
2 T chia seeds (or poppy or sesame or other small seed)
1/4 cup sunflower seeds
1.5 t sea salt
1 t active dry yeast
2 cups lukewarm water
* make any substitutions you'd like as long as you maintain the dry:wet ingredient ratio
1. Mix all dry ingredients except for yeast
2. Mix yeast with lukewarm water
3. Mix dry and wet ingredients until all dry ingredients are incorporated in a ball
4. Rest dough for 12-18 hours in large bowl, covered with a towel until the dough has doubled in size.  The longer the dough rests the tastier the bread will be, but much longer than 18 hours and the dough may collapse

5. Fit dough into an oiled loaf pan, 7 inch casserole dish or in the center of a well oiled dutch oven and rest for 1 more hour

6. Brush top with egg whites and sprinkle additional seeds on top (optional)
7. Oven: bake at 400 F for 30 to 45 minutes until hollow sounding when knocked.
    Campfire: This is more of an art thana  science, but place dutch oven in campfire ring atop hot stones or coals as close to the flames as possible without being surrounded in flames.  (see photo, and adjust based on size of fire)  Use potholders to rotate the dutch oven 1/4 turn every 15 minutes to cook evenly.  After 30 minutes, crack the lid slightly so the steam can escape and form a crust. Cooking time will vary but may take up to 2 hours. 


Friday, March 9, 2012

Napa, CA (Part I)


Napa is, of course, best known for its vineyards and wineries, but I went for the hiking, and the fabulous Margo’s birthday.   We used a CA guide book to identify a semi-long hike that was sure to work up our appetite for wine and taco truck later that night.  We set out for the Bald Mountain Trail at Sugarloaf Ridge State Park, widely said to be one of the best wine country hikes around, but we were lost before we hit the parking lot, somehow finding ourselves at the wrong trailhead, and instead taking the Goodspeed trail to Gunsight Rock (http://www.trails.com/tcatalog_trail.aspx?trailid=XDH006-049).  We were assured by the sweetest local woman, whom looked like she had hiked the trail everyday for the last 100 years, that we were not lost, and that Goodspeed was in fact a much better hike, while Bald Mountain forces you onto a fireroad to the peak.  Happy with our mistake, we continued on Goodspeed through switchbacks lined with Manzanita and wild flowers, and along a sun exposed ridge, making the steady, modest climb to Gunsight rock. 
Gunsight is an amazing, sunny, rock formation overlooking the vineyards in the valley.  This was our main destination (the remaining few hundread feet to the summit didn’t offer much for views, especially for the steepness of the climb) and a great spot to park for lunch.  I packed us almond butter and apple butter sandwiches and Pink Lady apples, but my attention was drawn to the other side of the rock formation to see what delicious treats C+R whipped up: homemade carob balls!  They were tasty and packed with energy, but I was most impressed by how versatile the recipe is…
Super Easy Super Energy Carob Treats:
1 cup peanut butter (or almond butter, or any kind of nut butter)
¾ cup honey (or maple syrup, or ½ cup agave)
¾ cup carob powder ($1.50/lb at Rainbow CoOp)
1 cup toasted wheat germ (or any kind of germ or bran or meal)
½ cup sunflower seeds (or pumpkin seeds, shredded coconut, seseme seeds, etc)
Mix it all together.  Use the seeds in the mixture, or to roll the ball in after.  Roll into balls.  Cover in seeds?

Monday, March 5, 2012

Pizza from scratch!

I was perusing foodie websites looking for something interesting to recreate, when I came across a very simple recipe on GiltTaste for fresh ricotta cheese, the perfect topping for pizza dough, which I've also been dying to attempt.  Turns out both recipes are much simpler than I imagined and so low maintenance, given you have an hour+ to let them both rest.

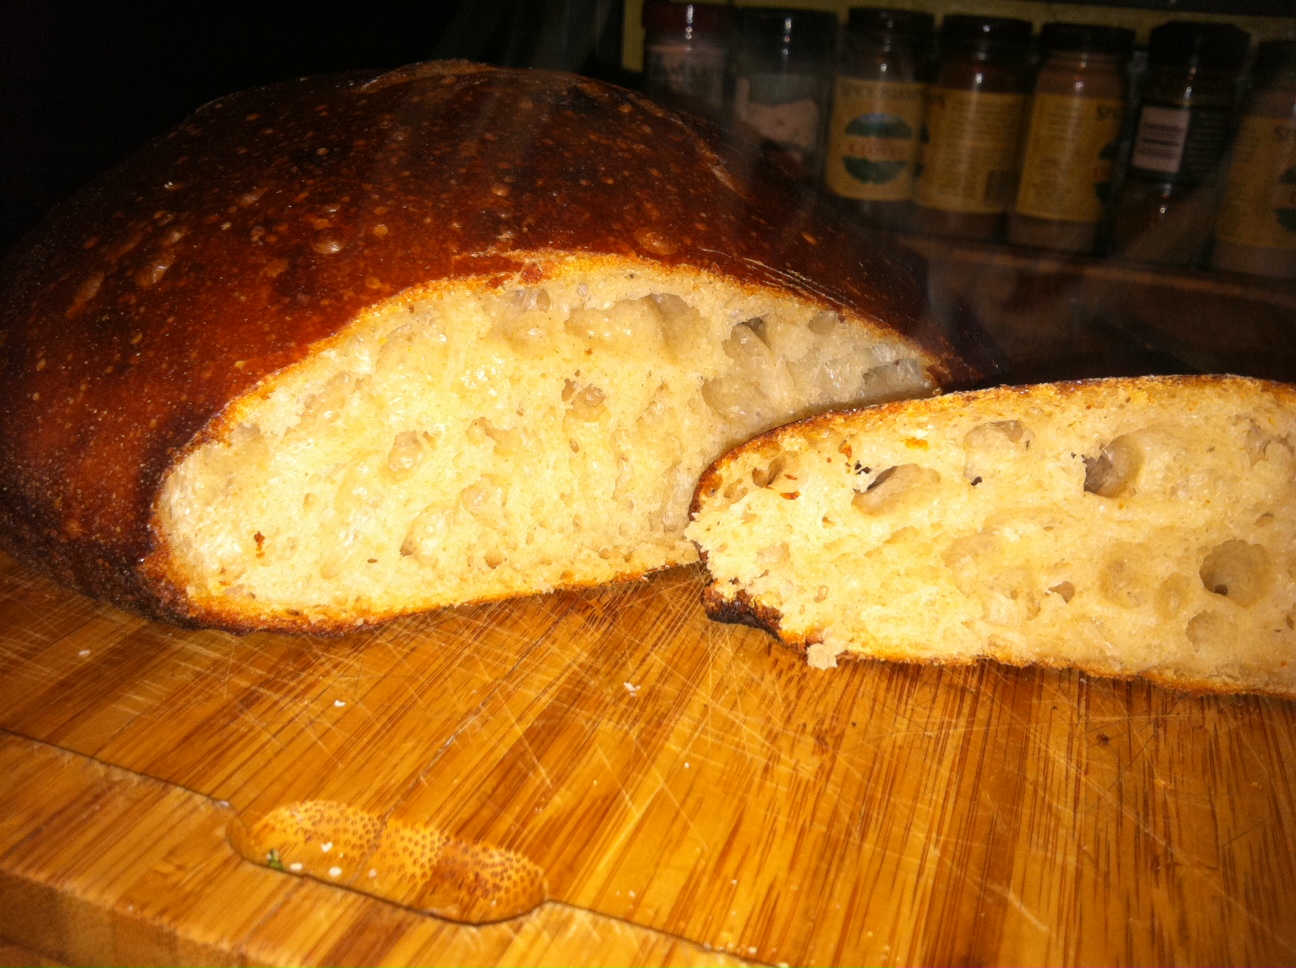
The experiment was an utter success!


Honey wheat pizza dough
(makes 2 pizzas, or 1 pizza and 1 dough to freeze for next time)
This was so light and fluffy on the inside with a slightly crispy crust


1 T honey
1 1/2 cups warm water (less than 115 degrees as to not kill the yeast, aka, less hot than a shower)
1 T active dry yeast or .5T instant yeast
1 T olive oil
1 t salt
1.5 cups whole wheat flour
2 cups white flour
1/4 cup chopped, pitted olives (optional)


Dissolve honey in warm water. Sprinkle yeast over the top, and let stand for about 10 minutes, until foamy.
Stir the olive oil and salt into the yeast mixture.  Mix in the whole wheat flour and 1 cup of the all-purpose flour until dough starts to come together.
 
Tip dough out onto a floured surface and add enough of the remaining flour so that dough is soft and kneads easily, but not sticky, then knead until  the ball of dough becomes smooth, about 10 minutes.
Place dough in a lightly oiled bowl, and turn to coat the surface. Cover loosely with a towel, and let stand in a warm place until doubled in size, about 1 hour. 
[This is when i started the ricotta].


When the dough is doubled, tip the dough out onto a lightly floured surface, and divide into 2 pieces.
 
Form each into a tight ball.  If freezing, double wrap in plastic and freeze for next time.  Knead in olive pieces (or any other mixing) for 2 minutes.
Let rise for about 45 minutes until doubled.  Preheat the oven to 425 degrees F (220 degrees C). Roll out with a rolling pin to form the general shape and size, then,drape it over both of your fists, and gently pull the edges outward evenly, while rotating the crust until the center is about 1/4 inch thick. When the circle has reached the desired size, place on a well oiled baking pan or stone.
Bake crust for 10 minutes.
Add toppings and bake for 15 to 20 more minutes (depending on thickness) in the preheated oven, until the crust is crisp and golden at the edges, and cheese is melted on the top. 


Homemade Ricotta - Makes 1 cup fresh cheese

Ingredients:
1 Quart whole milk (or low fat, but while is tastier!) (Important: You cannot use ultra-pasteurized or UHT (ultra-high temperature processed) milk. The container will say this clearly on the label.  Otherwise it will just say Pasturized - which you can use. 
1/2 t salt
1/8 
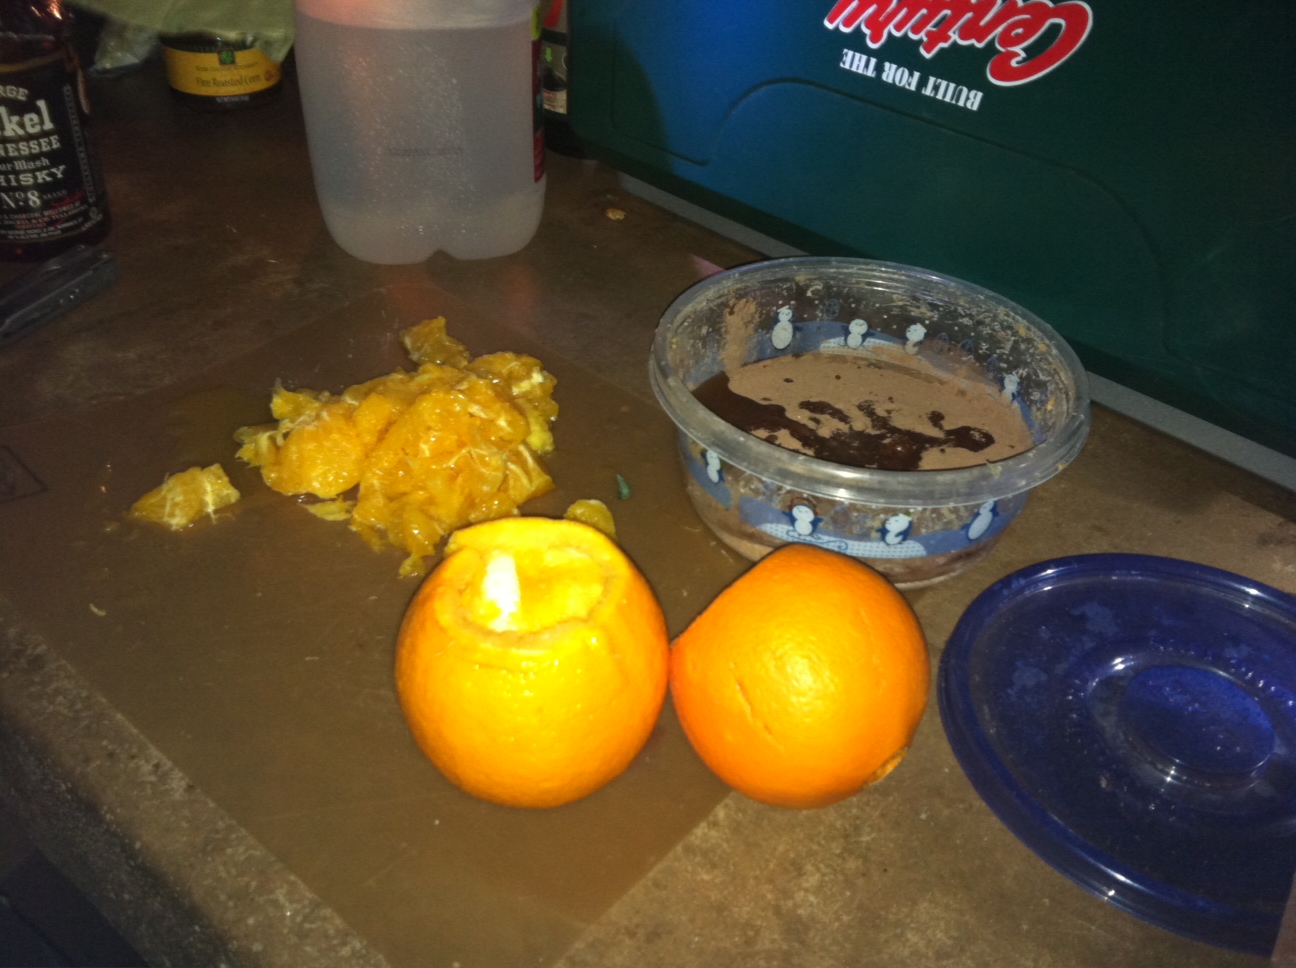
cup freshly squeezed lemon juice (gives a delicious lemony taste) or distilled white vinegar, or ½ teaspoon of citric acid dissolved in ¼ cup of water, or other similar acid

Heat milk and salt.  Pour the milk with the salt into a large pot over medium heat, stirring every couple minutes. Using a thermometer, heat the milk to180°F, not more than 185°F; the milk will be steaming on the surface and just about to start simmering. This is the temperature where the milk’s proteins start to break down and will easily form curds. The larger your pan, the faster it will heat up, so keep an eye on it.  Should take less than 10 minutes for this quantity.


Drop the acid.
 
When the milk has reached 180°F, shut the heat off, move the pot to your countertop and immediately pour in half of the acid while gently stirring. The acid makes the now-loosened proteins in the milk bind back together, forming “nets” that trap moisture and fat. As you stir, you will see the milk start to chunk up and curdle. After about 20 seconds, add the rest of the acid and continue stirring for 1 minute. Let the pot sit undisturbed for 10-15 minutes.

Drain and rest.  Set two layers of fine cheesecloth, or a nut milk bag in a bowl or mesuring cup.

Gently pour the contents of the pot through the lined colander. All the whey will drain, and you’ll be left with a cloudlike mass of fresh cheese sitting in the cheesecloth. (If you’re Martha Stewart, you’ll save the whey for other cheese making projects.) Set the colander over a large bowl and put it in the refrigerator to allow more whey to drain for at least 1 hour and presto! you’ve just made fresh ricotta cheese.
It's really that easy!


Pin It

Thursday, March 1, 2012

Sweet Tomato Tart

Our friend Amy surprised us all when she uncovered this sweet tomato tart at our recent potluck campout (do we know how to camp or what?!).  I consider myself a pretty adventurous baker but I gave Amy major props for pushing the limits of culinary creativity to create the subtly sweet, perfectly acidic masterpiece that I've described below.  Have fun!

Amy's Sweet Tomato Tart
8-10 large roma tomates
1/2 stick butter
2/3 c sugar
1 tsp vanilla extract
sheet frozen puff pastry

preheat over to 425

Score the bottom of the tomatoes with an 'x'  and blanch until the x starts to peel back (like 3-4 mins) remove w slotted spoon and put in ice bath. When they are cool, peel the skin and cut in half and scoop out all the seeds. Put cast iron pan on medium heat with butter and sugar and place the tomato halves inside part down in circles, trying to get them in a tight spiral and cook until the butter/sugar turns into a thick bubbling syrup. 

Remove from the heat and drizzle the vanilla over the tomatoes. Cut the pastry to the size of the pan (maybe 1/2 in bigger all around to tuck under - and do this while the pan is cool before yous tart cooking or it will stick!) Put puff pastry down on tomatoes and tuck the edges in. cut a few slits in the top and throw in the oven 20-25mins until its golden brown!

Cut around the edges as soon as you pull it out of the oven, let it cool for a bit then flip onto a plate. Best if eaten with Nichole's basil ice cream!!

Sorry...It was practically gone by the time I could pull out my camera!  But doesn't it still look delicious?


Wednesday, February 29, 2012

Pescadero, CA

Pescadero, CA has become my home away from home.  Just off of Highway 1, 1 hour south of San Francisco, it is a tiny coastal town with the most amazing public beaches, Redwood hikes, and pie!  I love it as much for its remoteness as its proximity to the city, and just a weekend here feels like a vacation!  Most of the land is protected and/or farmed so the rolling hills and 360 views are as plentiful as the fresh, local veggies. 

We always have such a good time down there using the same basic recipe for the weekend: gather as many friends as possible, pack a potluck “family” dinner, find a map to plan a bike ride, hike, trail run, drive or just explore Pigeon Point Lighthouse (known for its nearby seal population), tidepools or beach.  There's something for everyone to enjoy during the day, and great company and food (and tents) to share at night.

Most recently we all met down there on a Saturday afternoon, walked along the beach and spotted seals 20 feet offshore, and even whales much farther out.  Once everyone arrived, we carefully forded Highway 1 and took a hike around through a 5000 acre ranch owned by the local land trust, POST, complete with operational farm, small reservoir, and sprawling ocean and hillside views [note: you must request written permission from POST prior to accessing the property].  Alternatively there are many public trails, most notably within the Pescadero Creek County Park, or my favorite, the Candelabra Tree Trail!   

In the evening we broke out our potluck that magically complemented all of the other dishes, not the least of which was Amy's Sweet Tomato Tart and my soon-to-be-famous super easy basil ice cream (ice cream recipe to follow soon) 


Thursday, September 15, 2011

Origami Dishes

I recently made my greatest purchase ever...er, this week at least.  I was wandering around REI looking for last minute gear for my Labor Day backpacking trip in Lassen National Park (bug spray, croakie, shades), and clearly with food on my mind found these amazing dishes by Fozzils! 

They start flat and fold to a cup, bowl, plate and spoon, secured by little snap buttons.  They are ultra light weight, multi purpose, easy to clean, pack away flat, and sturdy.  Also make great cutting boards and prep surfaces when preparing dinner on the forest floor.  I mean, come on, what more could you ask for. 
They come in neon, if you opt for the cheaper, kids set with barely smaller dishes for $14.  Adult colors and sizes available for $5 more, but what fun is that.
My absolute favorite part about these guys is that I can discretely carry them around the city and can avoid using disposable dishes and utensils all over town.  With impulses for street food like mine, this will probably save tons of trees and petroleum for plastics.  YAY!

Wednesday, August 24, 2011

San Francisco, CA

I arrived in San Francisco on February 12, 2011, all worldly possessions in tow, greeted by Gordon’s smiling, somewhat terrified face, and the reality that I was now homeless and unemployed.  Within minutes of landing I was outfitted with my very own Specialized Hybrid bike - a gift from my mom and G, and the beginning of many new adventures.

Day one I woke up at east coast 9 AM, to a beautiful 60 degree February day in Potrero.  I was already approaching sensory overload but how could I pass up a bike ride around my new city - and AROUND we went.  We started off in Mission Bay, around the Ballpark, up the Embarcadero toward Fisherman’s Wharf.  Up North Point to Marina Ave., then Lincoln to the Bridge.  Riding over the Golden Gate was exhilarating and slightly terrifying, cars and other bikers flying by, while I re-remembered how to ride at all, but a quintessential SF experience, and my first of many.  Arriving at the far side of the bridge, overlooking the bay and city, we thought the perfect place to stop for a snack and think about not being in Boston anymore.

The snacks on these trips have secretly become what I look forward to most.  For G, it's all about the ride, which was apparent on this first trip when he pulled out some peanut butter, a whole carrot and a chili pepper, probably grown in his garden.  Since then, I've taken over packing our lunches for these trips and often find myself day dreaming about possible treats that are packed with energy, transportable, and delicious.  G doesn't quite understand eating for pleasure, but seeing how happy it makes me, he plays along.

After our snack we came back over the bridge, down the west side of the Presidio, and through the park.  I learned about the Wiggle, and rode past a packed-for-no-apparent-reason Dolores Park, Bi-Rite Creamery and on into Potrero.   Already I had gotten everything I wanted out of my cross country move: an adventure, and someone to have it with.  The rest is just icing on the Energy Compost Breakfast muffin.


Wednesday, August 17, 2011

Hello

My two passions (aside from the fantastic people I share them with) are eating and exploring, and combining them as often as possible. What a coincidence that I would find myself in Northern California: the Mecca of all things delicious and awe inspiring.  I suspected moving across the country, for a BOY, might be foolish, but certainly never considered that it would turn out so brilliantly.  And I haven’t looked back or sat still ever since; there is too much gorgeous coastline, mountain range and city to explore, and of course, delicious treats along the way.  I hope you enjoy hearing about my adventures as much as I look forward to sharing them!